How to Use Transfer Tape With Cricut: A Beginner’s Guide
I’m glad you are here to learn how to use transfer tape with Cricut. Using transfer tape for your regular Cricut projects is very simple. I will cover a real project that I made using transfer tape. This accessory is as important as any other Cricut supply. However, if you haven’t used transfer tape before, I’ll ensure that you understand everything about it.
When I first started, I was a newbie, too. But, gradually, I came to understand all the important accessories and tools of Cricut. One thing that most crafters face is that they often get confused about which transfer tape to use. If you are one of them, don’t worry – I will explain it to you too.
What Is a Transfer Tape?
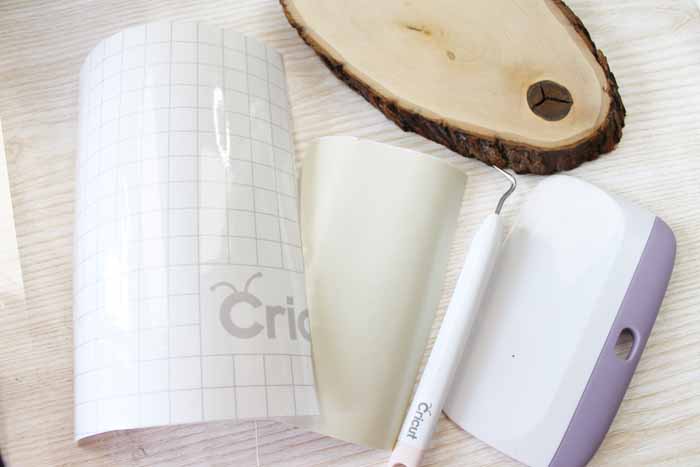
Before learning how to use transfer tape with Cricut, you need to understand what it is. A transfer tape is a strong grip tape to transfer iron-on vinyl onto the material. It holds the vinyl and then smoothly transfers it to the desired material. Generally, there are two types- Regular and Strong Grip transfer tape.
The regular transfer tape is great for general projects, whereas the strong grip tape will be useful for glitter vinyl, where you need extra effort to pull off the tape. So, if you are using a strong iron-on vinyl, you should use a strong grip transfer tape.
Where Do I Get Transfer Tape From?
Well, I use Cricut’s brand for all my craft needs. Cricut’s things suit my projects, and it has become my all-time favorite stuff to use now. But it’s all about someone’s choices. So, if you find some other brand good, go for it. Try different types of brands until you find your perfect one. I have been using Cricut’s transfer tape from the start, so I have never gone to other brands.
How to Use Transfer Tape With Cricut?
To get started with the transfer tape, you need to make a cut with your adhesive vinyl with your Cricut machine. I often use my Cricut Explore Air 2; you can use other Cricut machines, too. As you are a Cricut user, you know how to cut vinyl with your Cricut machine.
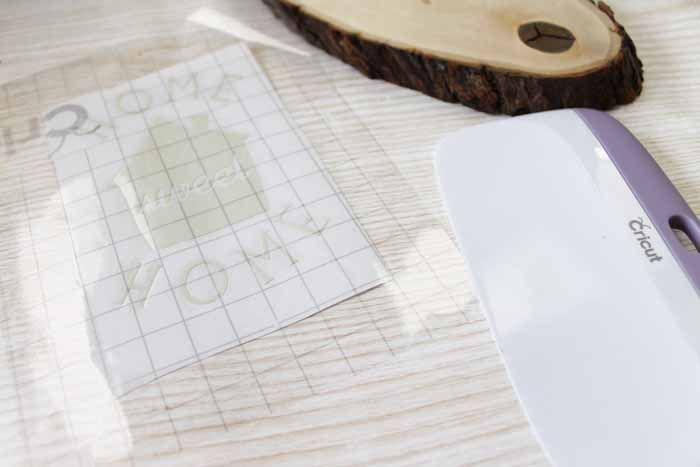
Once you cut your vinyl, weed out the excess of vinyl from the final design. So, when you get the design you need, it’s time to apply the transfer tape using my easy steps.
Step 1: Cut the Transfer Tape
In the first step, you need to cut a large piece of transfer tape compared to your design. You can use a transfer tape multiple times before disposing of it. There is one benefit to using transfer tape.
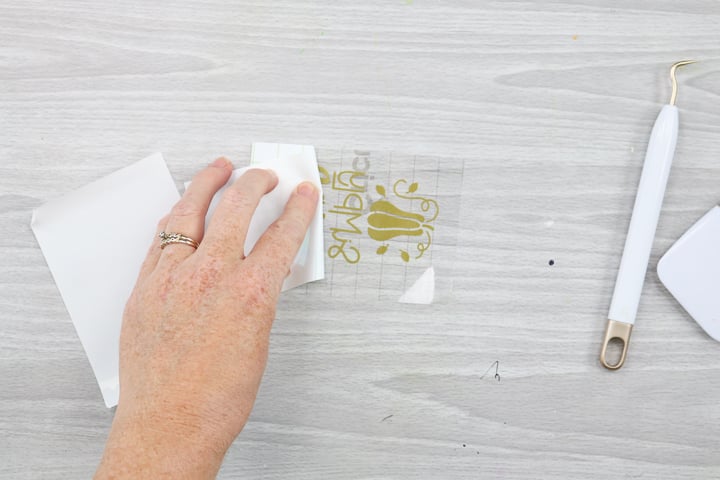
Step 2: Peel off the Backing Paper
After that, you need to peel off the backing paper. You can apply the transfer tape back to the backing paper to use in the future. Let’s move to the next steps to learn how to use transfer tape with Cricut.
Step 3: Apply the Transfer Paper to Your Design
In the final step, you need to transfer the design and smooth it down using a scraper so no wrinkles or bubbles are left. If you don’t have a scraper, you can use your credit card or a gift card, too.
Step 4: Peel off the Backing Paper
Now, turn your piece and peel off the backing paper once again. Next, the tape will only be left with the design. You can press the transfer tape once again to take a neat and clean design. When your design is ready on the transfer tape, you can apply it to your material. Now, let’s proceed to the next step to complete the process of how to use transfer tape with Cricut Maker.
Step 5: Apply the Transfer Tape to Your Material
Then, you need to peel off the transfer tape once you place it on the material. Ensure that the vinyl sticks well to the surface of your project. If it does not stick well, remove it and burn it well once again. And then reapply on the material.

Conclusion
Finally, you have learned how to use transfer tape with Cricut. I am sure you will find this process easy peasy. A transfer tape is really necessary to apply adhesive vinyl correctly. So, if you are a regular Cricut user, a transfer tape is a must have for you. So, wait no more to get a suitable transfer tape for you, either regular or standard grip, to make a perfect project.
FAQs
How to Use Transfer Tape With Iron on Vinyl?
To use the transfer tape on iron-on vinyl, you first need to prepare a design with your Cricut machine. Transfer tapes are used to transfer the vinyl design onto the material easily. To make a perfect iron-on project, you should use a transfer tape. You just need to peel off the transfer tape, apply it to the design, and then apply the design to the material.
Why Do You Need Heat Transfer Tape?
Heat transfer tape is needed while you are using heat transfer vinyl to make sure that the vinyl sticks to the fabric or material easily. As there are various types of transfer tapes available, the heat transfer tape is specifically for the HTV. It makes the design adjustment easy while using an iron-on project.
Do I Need Transfer Tape in All Cricut Projects?
No, transfer tape is only to be used with vinyl projects. The purpose of transfer tape is to transfer the design from the vinyl to the final project. So, if your project doesn’t include vinyl, you don’t need to use transfer tape. There are plenty of other accessories and tools to be used with Cricut to make a variety of projects.
Visit: Cricut.com/setup
www.Cricut.com setup login
cricut.com setup mac
install cricut design space app
cricut new product setup
Source: https://explorenewmachine.com/how-to-use-transfer-tape-with-cricut-a-beginners-guide/


Comments
Post a Comment